Monday, December 29, 2014

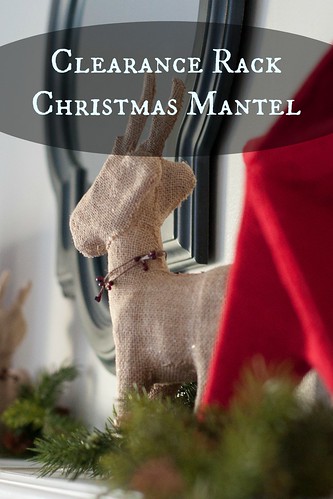
Clearance Rack Christmas Mantel

It may take a couple of years to accumulate all the details for the look you wish to achieve, but shopping sale racks and after season markdowns is a frugal way to develop a full Christmas mantel.

Clearance Rack Christmas Mantel Decor


Monday, December 8, 2014

Karlstad Couch Upgraded with Tufting and Legs


With a little time and labor, bland IKEA Karlsdad furniture can be transformed with mid-century details.  We added tufting and legs to achieve the look!

Mid-Century Karlstad Couch and Chair Hacks


Wednesday, December 3, 2014

DIY Framed Christmas Card Display

Creating a Christmas card display using a a large, empty frame is a super simple project! 

Picture Frame Christmas Card Display


Monday, December 1, 2014

AirStone Fireplace Makeover

With the holidays on the way, Mike and I were thrilled earlier this month to receive materials from AirStone to help us make over our fireplace. Those samples (Spring Creek bricks and adhesive) were provided to us free of charge, but the opinions and information in this post are entirely our own.  You can find more information on this product at airstone.com, including installation tips and videos.

Update Tile Fireplace with AirStone Makeover 


Saturday, November 22, 2014

DIY Dress-Up Clothes Storage Rack

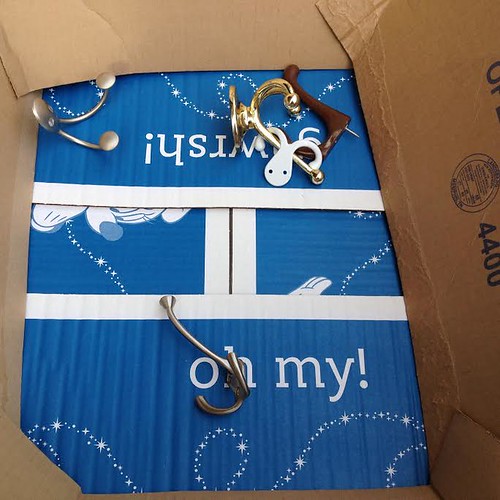
After Command hook after Command hook kept popping off the wall, we decided it was time for a more permanent solution for hanging dress-up clothes. We created a DIY dress-up rack using mismatched hooks and scrap wood.
 
We dug out five old hooks of various colors and styles, and Mike spray painted them white.

DIY Dress-Up Clothes Storage Rack 


Sunday, November 9, 2014

Mini Projects - Seasonal Chalkboards and Sweater Candles

We have a number of home projects underway right now, and I tackled a couple of mini ones in some free moments this weekend.

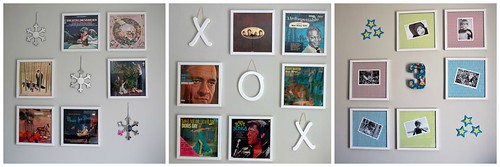
This first one I can hardly call a project, but it is a big improvement in my opinion.  We moved our record wall from our old kitchen into the dining room of this house last year, complete with the three blank spots for seasonal changes. 

Seasonal Chalkboards and Sweater Candles

Tuesday, September 23, 2014

Add Color to Cupboards with Fabric

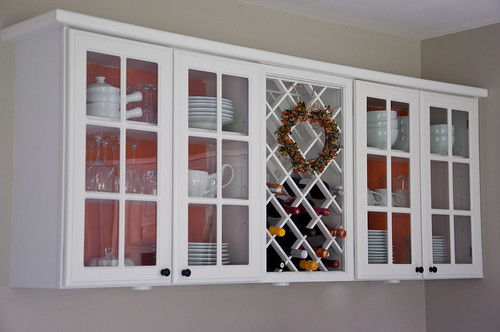
Hanging colored fabric in the back of cabinets with glass doors is a great way to add color to the room without the commitment of paint.

Add Color to Glass Door Cupboards with Fabric

Tuesday, September 16, 2014

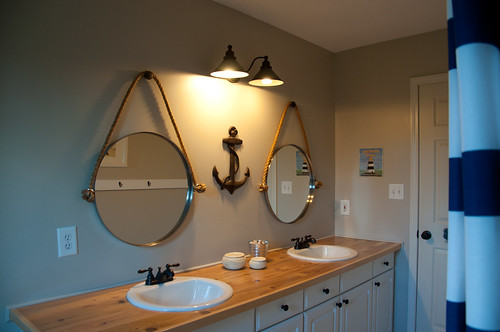
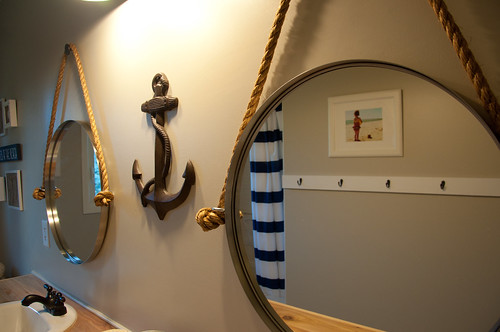
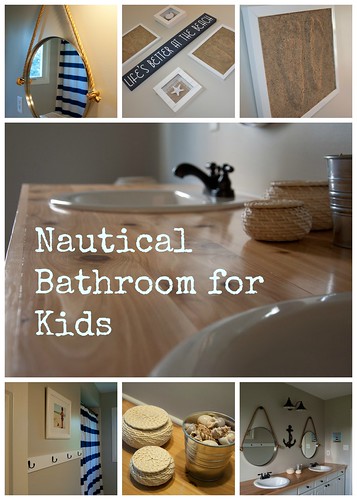
Kids' Beach Bathroom

We just finished our kids' beach bathroom project, and I don't think I have ever loved a bathroom more!

Kids' Beach Bathroom 


As I mentioned long ago, we did not intend to update the kids' bathroom beyond maybe a coat of paint and a new shower curtain for probably a couple of years.  However, upon moving into the house last fall we discovered that the enormous mirror above the sink was dangerously loose from the wall and had to be removed.  That left us with a damaged wall that really could not be ignored.  If we had to put up new drywall and replace the mirror, we figured we might as well take a few other reasonable steps to make this a bathroom we love.  And we do love it!  Take
a look...

Before:                                                     
 
Kids' Beach BathroomKids' Beach Bathroom

After

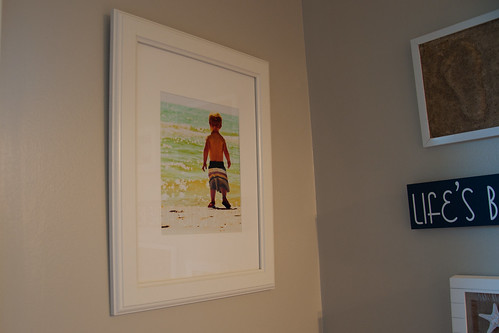
Kids' Beach Bathroom 

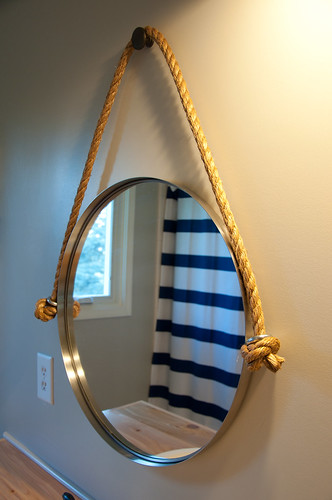
Mirror tutorial we followed:
Captain's Mirror --- Shore Society

Kids' Beach Bathroom 

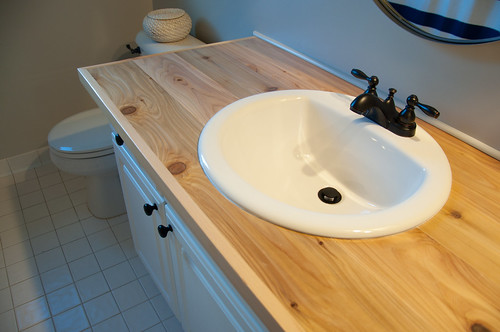
Cedar countertop tutorial we followed:
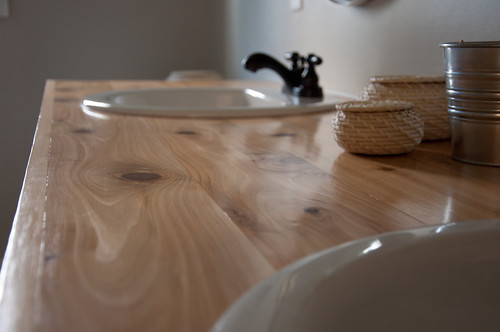
DIY Wooden Countertop --- Addicted 2 Decorating

 
Kids' Beach Bathroom 

Kids' Beach Bathroom

If I ever question my husband's amazingness, remind me of this countertop, will ya?  So dang pretty!

Kids' Beach Bathroom 
 
One great thing about taking our time to complete this room is that by the time we were ready to accessorize, I had all the ideas worked out and supplies ready come go time.  I've been dying to see these mirrors come together!

Kids' Beach Bathroom 
 
Kids' Beach Bathroom 

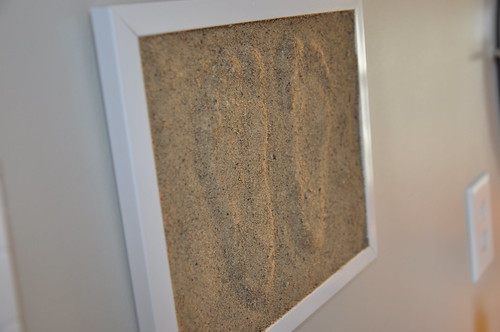
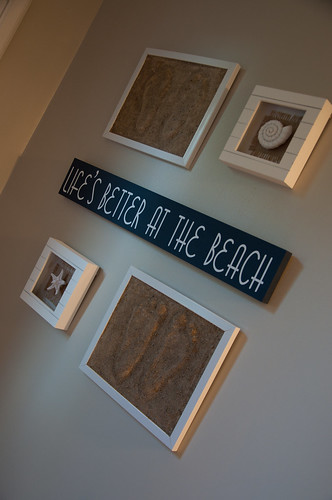
Sand wall art tutorial we followed:
Sand Footprints --- Paging Fun Mums

My advice for these is buy extra plaster and frames in case your first attempt (or two) doesn't come out as nice as you hope.  Aside from that, follow the tutorial exactly, and even watch the blogger's video on YouTube.  That was super helpful for me.


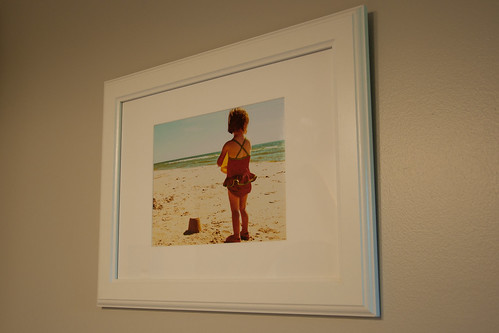
Kids' Beach Bathroom 
 
Kids' Beach Bathroom 

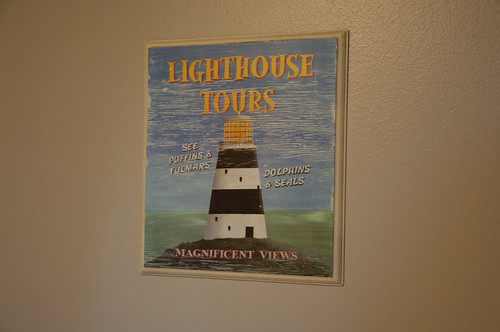
I bought the lighthouse at a thrift store on the same day that I bought the butterflies for Sophie's room way back when.
 
Kids' Beach Bathroom 

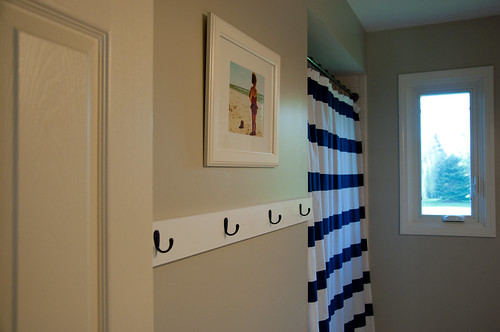
Mike made the towel rack with hooks and wood from Lowe's (based on my instructions...have to take a little credit).

Kids' Beach Bathroom  

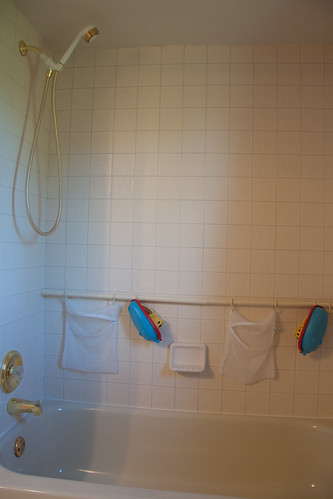
We are equally happy with the changes we did not make (and therefore saved money on).  We chose not to replace the beige toilet, tile, and bathtub and also left the shower fixtures alone.  We also kept the bathroom vanity but never really considered tossing that.  It's in good shape, and I like the white.  Maybe someday we'll do a full renovation, but for now, this fix-up is just what we imagined.

We even repurposed the old shower rod as a bath toy drying rod!

Kids' Beach Bathroom


Shopping:

Sinks, faucets, light fixture, cabinet knobs, mirror hardware and rope - Lowe's

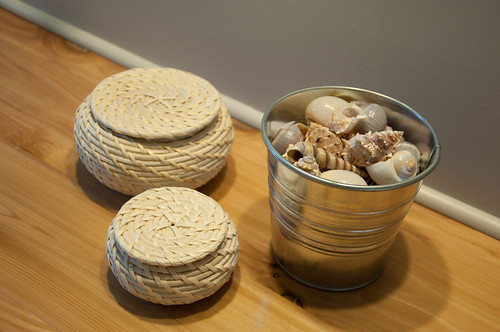
Picture frames, toilet paper holder, basket set, round mirrors, shower rod and rings - Ikea

Shower curtain, footprint frames - Target

Framed shell art - Michael's

Beach sign - Life Expressions

Kids' Beach Bathroom


Take a look at some more DIY ideas at the Made by you Monday linky party at Skip to My Lou!
Monday, August 25, 2014

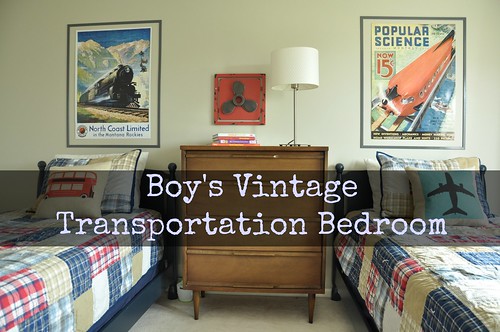
Boy's Vintage Transportation Bedroom

Boy's Vintage Transportation Bedroom


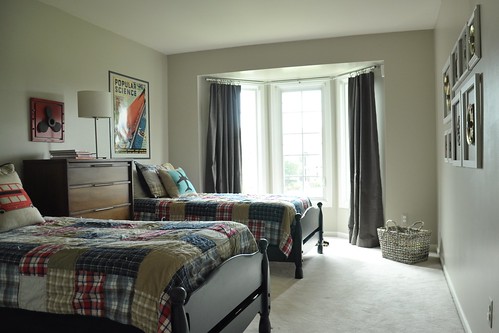
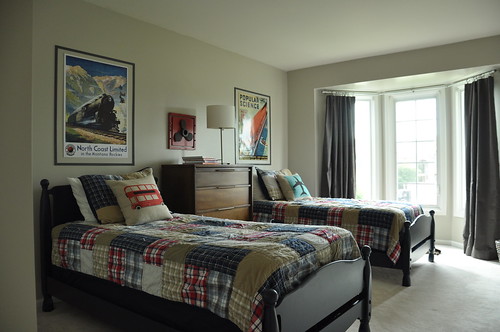
It was roughly a year ago that we began working on Michael's room with Mike painting his old beds blue just before we moved into this house.  With art on the walls and curtains on the window, I now feel satisfied calling this space complete.

Boy's Vintage Transportation Bedroom

Although I've documented a number of steps toward completion over this year including the industrial gear gallery wall and $.89 poster frames, the final project was completing the curtain rod and curtains.

Boy's Vintage Transportation Bedroom

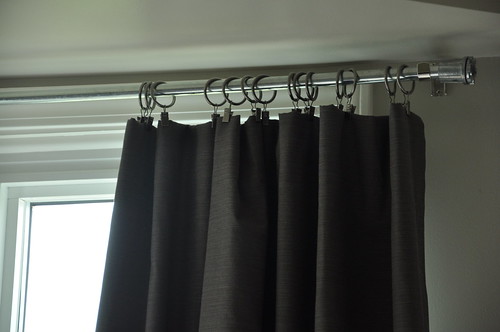
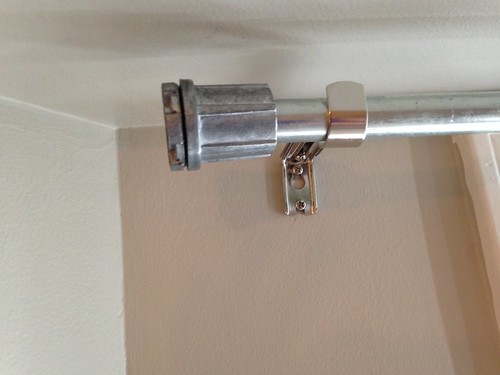
Using a length of electrical conduit, Mike made a curtain rod inspired by the DIY Bay Window Curtain Rod project at Here Comes the Sun.

Boy's Vintage Transportation Bedroom

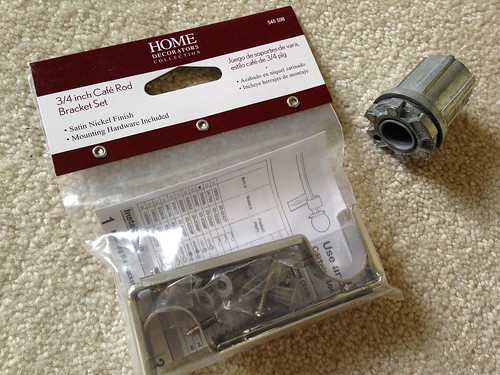
We used a cafe rod bracket set to hang the conduit after Mike bent it, and we attached fittings at the ends as industrial finials.  We bought all of that at Lowes.
 
Boy's Vintage Transportation Bedroom

I bought some actual blackout curtains for this room, but once they were up I found they were not as effective as the DIY blackout curtains in Sophie's room.  I ended up doing the same project for this space using regular store bought curtains and blackout fabric again.

Boy's Vintage Transportation Bedroom

This room suits Michael's warm personality and classic interests in all things transportation.  It is just what I envisioned for our guy!
Check out earlier posts for more details on this space!

Michael's Big Boy Room
Industrial Gear Gallery Wall
$.89 Poster Frames

Thursday, August 7, 2014

Poster Frames Made from $.89 Trim

We created large frames for the posters in Michael's room using $.89 trim.

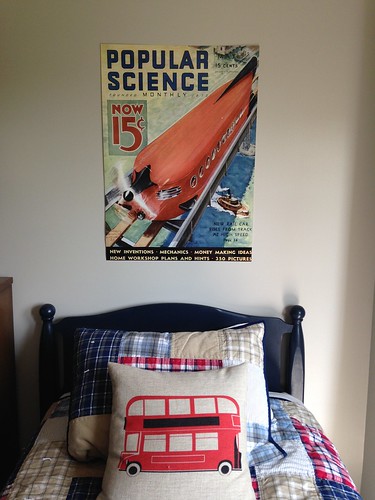
Earlier this summer I bought two vintage train posters for Michael's room from Cafe Press. 

Poster Frames Made from $.89 Trim

I really wasn't sure how I would hang the posters when I bought them.  For the sake of ease, and because they weren't very expensive, I bought poster frames from Target for $10 each, hung them up, and tolerantly hated them for a few days.  The plexiglass reflected light in a weird, warpy way, and it just didn't look good.

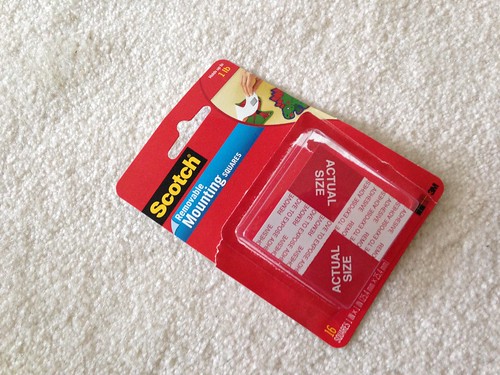
My next try was just hanging the posters right on the walls.  This is a boy's bedroom after all.  Posters stuck on the walls are kind of classic, right?  Since I didn't want those oily, bumpy corners that sticky-tack left on the posters in my teenage bedroom I tried out mounting squares. 

Poster Frames Made from $.89 Trim

The posters looked nice but still appeared unfinished on the walls without frames of any kind.

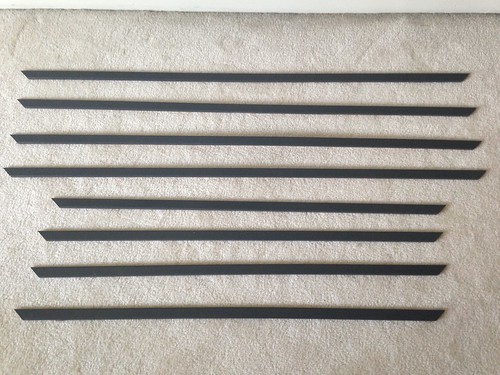
Ultimately, I requested that Mike cut some trim to make frames around the posters.  We picked out and bought some $.89 trim from Home Depot, Mike cut it into pieces with mitered corners, and I spray painted them dark gray to match the new curtains (more on those in a future post).

For some help with cutting miters, here's a handy video from This Old House.

Poster Frames Made from $.89 Trim

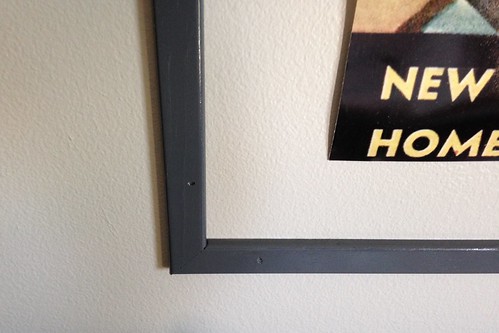
At first I hung the frame pieces using the same mounting squares (cut in half) to save on holes in the walls.  That worked great on most pieces, but the trim was a tad warped and some sides would not lie flat against the wall without nails.  If you are sure to buy trim that is good and flat, mounting strips would probably work.  Since we did not, Mike used an air powered nailer to finish off the project.


Poster Frames Made from $.89 Trim 

Poster Frames Made from $.89 Trim


The end result is very pleasing to me.  I love the delicate, architectural quality of the frames, the way they coordinate with the propeller over the dresser and the new curtains, and how they have a similar look as the gear wall. 

The poster frames we made from $.89 trim make me think this room is nearing completion!

Thursday, July 24, 2014

DIY Jewelry Organizer--Easier than you think!


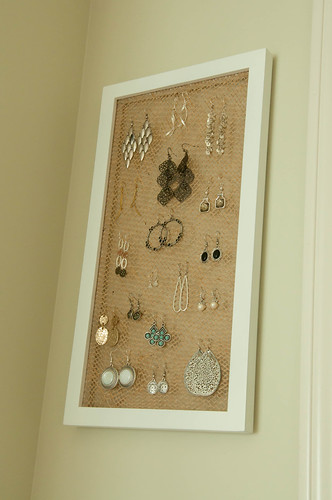
Creating an earring holder using burlap and a floating frame is ridiculously easy!


Create Earring Holder Using Frame and Burlap


When I decided long ago that I would make a picture frame earring holder like the gazillion I had seen on Pinterest, I shrugged to myself and thought, "I won't even blog about that one. Everyone has seen that project already."

Fast forward to a few days ago and now I'm thinking, "I must blog about this! The world needs to know!" 

Here's what you need to know. If you use a floating frame (you know, the kind with the two sheets of glass that you put your photo/document/postcards from your honeymoon in between), this project is ridiculously easy.

Create Earring Holder Using Frame and Burlap

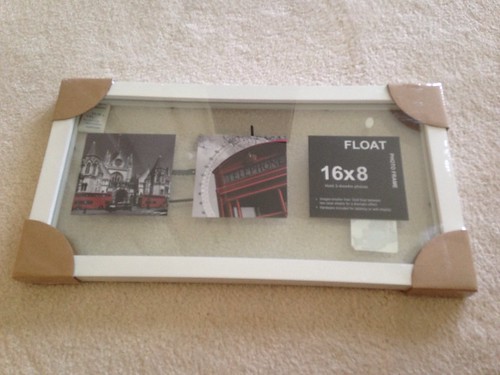
I didn't have a tall and narrow frame that I envisioned for this project in my stash, so I hit Jo-Ann again and saw most frames were 40-50% off. I grabbed the one above because it was the size I wanted and intended to staple gun or glue gun or whatever gun some burlap or lace onto the back. The fact that this was a floating frame was just a little serendipity, I guess.

To my delight, I found that this project with this kind of frame requires no craft weaponry at all--no glue guns, no staple guns, nuthin'.  Watch this.

Create Earring Holder Using Frame and Burlap

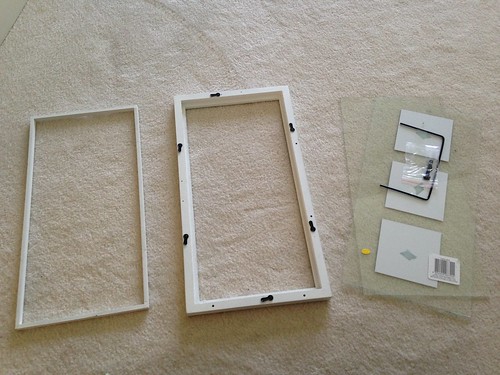
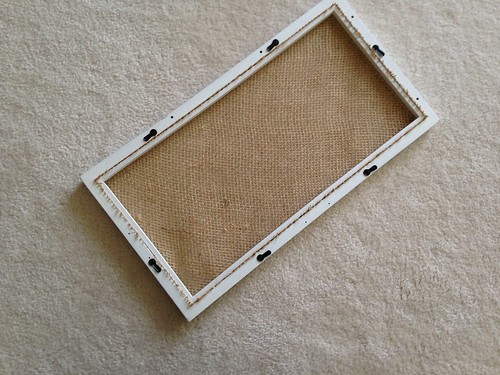
Disassemble your frame into it's basic parts.  Set aside the glass and hardware, as all you need now are the frame and the smaller inner frame.

 Create Earring Holder Using Frame and Burlap

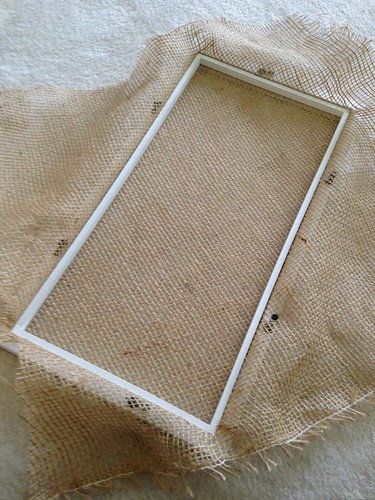
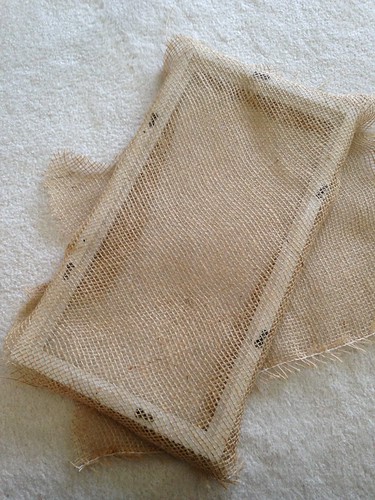
With the frame face down, lay the fabric of your choice over top. I used burlap from a hardware store, the really loose-weave kind, not the tighter stuff you find at fabric stores.  I thought this would work well for hanging earrings.  I arranged it on an angle to make a diamond pattern with the weave just for fun.

Fold the fabric under the edges of the frame a bit to provide a little tension and resistance for the next step.

 Create Earring Holder Using Frame and Burlap

Push the inner frame on top of the fabric.

 Create Earring Holder Using Frame and Burlap

Trim the edges, and guess what. You're done! That's it. Hang your frame, hook your earrings, and there you have it.

 Create Earring Holder Using Frame and Burlap


Create Earring Holder Using Frame and Burlap

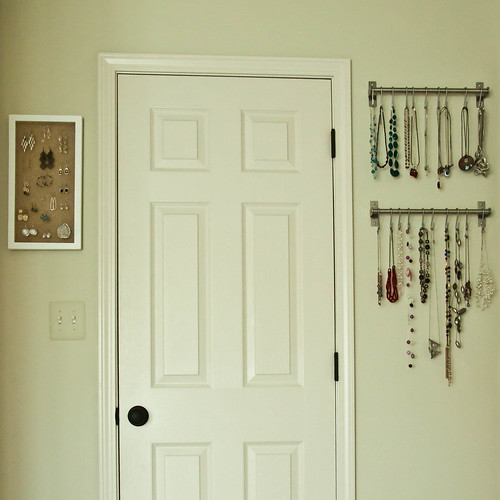
This earring holder made from burlap and a floating frame is the perfect complement to my Ikea rod and hook necklace hangers!