Monday, August 25, 2014

Boy's Vintage Transportation Bedroom

Boy's Vintage Transportation Bedroom


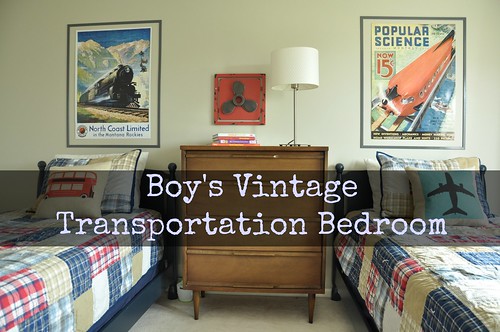
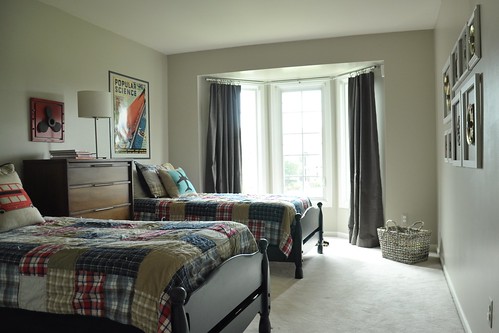
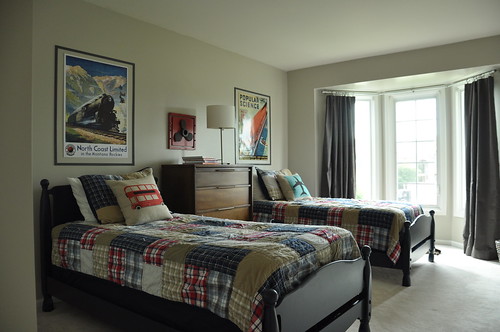
It was roughly a year ago that we began working on Michael's room with Mike painting his old beds blue just before we moved into this house.  With art on the walls and curtains on the window, I now feel satisfied calling this space complete.
Boy's Vintage Transportation Bedroom

Although I've documented a number of steps toward completion over this year including the industrial gear gallery wall and $.89 poster frames, the final project was completing the curtain rod and curtains.
Boy's Vintage Transportation Bedroom

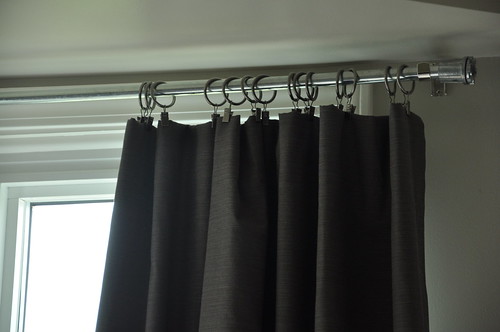
Using a length of electrical conduit, Mike made a curtain rod inspired by the DIY Bay Window Curtain Rod project at Here Comes the Sun.
Boy's Vintage Transportation Bedroom

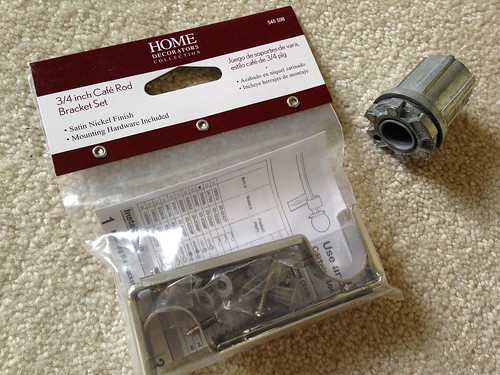
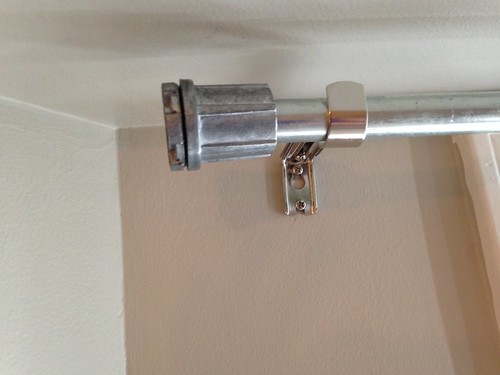
We used a cafe rod bracket set to hang the conduit after Mike bent it, and we attached fittings at the ends as industrial finials.  We bought all of that at Lowes.
 
Boy's Vintage Transportation Bedroom

I bought some actual blackout curtains for this room, but once they were up I found they were not as effective as the DIY blackout curtains in Sophie's room.  I ended up doing the same project for this space using regular store bought curtains and blackout fabric again.
Boy's Vintage Transportation Bedroom

This room suits Michael's warm personality and classic interests in all things transportation.  It is just what I envisioned for our guy!

Check out earlier posts for more details on this space!

Michael's Big Boy Room
Industrial Gear Gallery Wall
$.89 Poster Frames
Thursday, August 7, 2014

Poster Frames Made from $.89 Trim

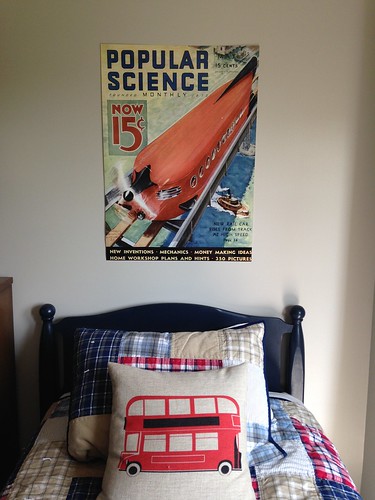
We created large frames for the posters in Michael's room using $.89 trim.

Earlier this summer I bought two vintage train posters for Michael's room from Cafe Press. 

Poster Frames Made from $.89 Trim

I really wasn't sure how I would hang the posters when I bought them.  For the sake of ease, and because they weren't very expensive, I bought poster frames from Target for $10 each, hung them up, and tolerantly hated them for a few days.  The plexiglass reflected light in a weird, warpy way, and it just didn't look good.

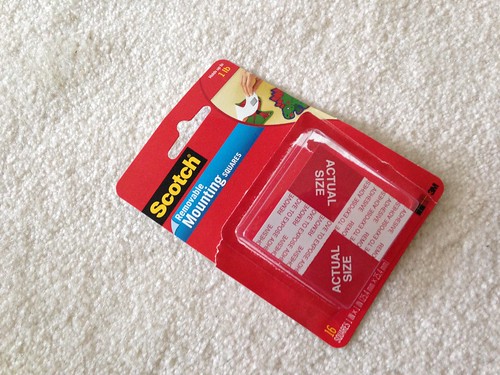
My next try was just hanging the posters right on the walls.  This is a boy's bedroom after all.  Posters stuck on the walls are kind of classic, right?  Since I didn't want those oily, bumpy corners that sticky-tack left on the posters in my teenage bedroom I tried out mounting squares. 

Poster Frames Made from $.89 Trim

The posters looked nice but still appeared unfinished on the walls without frames of any kind.

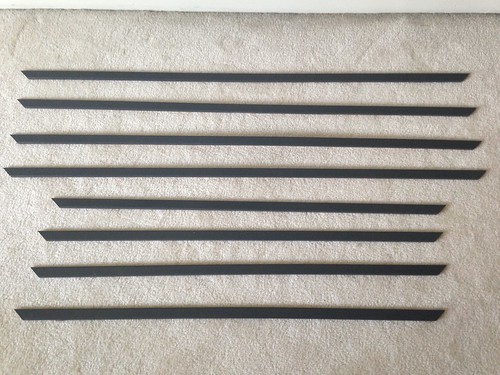
Ultimately, I requested that Mike cut some trim to make frames around the posters.  We picked out and bought some $.89 trim from Home Depot, Mike cut it into pieces with mitered corners, and I spray painted them dark gray to match the new curtains (more on those in a future post).

For some help with cutting miters, here's a handy video from This Old House.

Poster Frames Made from $.89 Trim

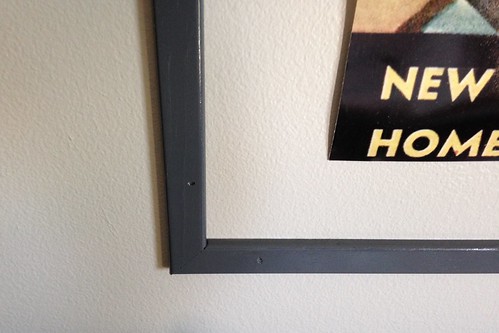
At first I hung the frame pieces using the same mounting squares (cut in half) to save on holes in the walls.  That worked great on most pieces, but the trim was a tad warped and some sides would not lie flat against the wall without nails.  If you are sure to buy trim that is good and flat, mounting strips would probably work.  Since we did not, Mike used an air powered nailer to finish off the project.


Poster Frames Made from $.89 Trim 

Poster Frames Made from $.89 Trim


The end result is very pleasing to me.  I love the delicate, architectural quality of the frames, the way they coordinate with the propeller over the dresser and the new curtains, and how they have a similar look as the gear wall. 

The poster frames we made from $.89 trim make me think this room is nearing completion!