As Michael and Sophie would say...
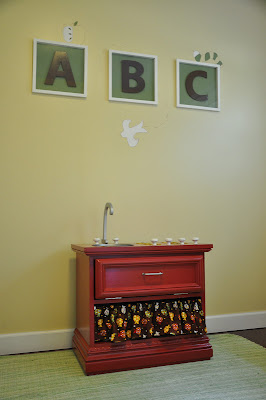
Ta-da! Mike and I finished the little nightstand-turned-kitchen in time for the kids' 2nd birthday celebration. Just barely, but we did.
I love how much I use the pronoun "I" in the first post I wrote about this project. At that point I had done the shopping, planning, and general obsessing necessary for this kind of work.
Later, I transformed the four wooden sunshines into burners by painting their middles silver. I also sewed the little cafe curtain and stuck silver scrapbooking letters (H and C) onto to the faucet knobs. I painted the faucet and arranged the items on the top of the table in a configuration that pleased me.
Then Mike did the rest.
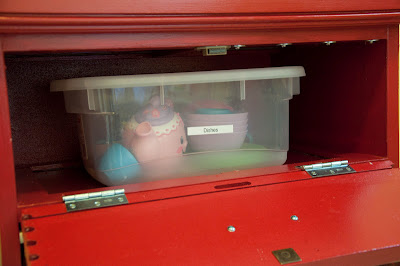
He removed the drawer runners and drawer front. He cut the hole for the "sink" (but I traced the circle!). He applied multiple coats of primer and paint to the inside and outside of the table (I said I'd do that...but then asked him to). He attached all those items and hardware. He even ran out at 10 p.m. to buy a magnet to hold the "oven door" closed the night before the celebration (while I made jello cupcakes cursing the crayon box idea).
In other words, this was the kind of team effort that reminds me why I like my husband so much.
It took a while to find the right table, so to satisfy my excitement in that down time, I Googled. The list of blogs that I visited in my research for this project would be a mile long, and I just didn't really keep track. Sorry, fellow bloggers.
The tutorial that helped me most, though, is a very detailed step-by-step series on Out of the Crayon Box. The most useful information that I took away was a supply list, particularly the wooden "J" for the faucet and a cake pan for the sink.
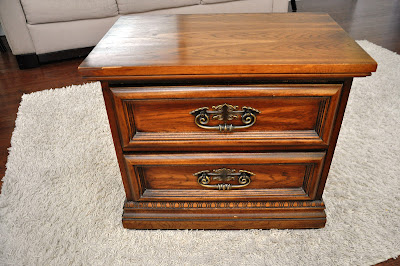
Here's the table I finally found at our local Salvation Army after visiting it once or twice a week for a several weeks.
I saw a lot of these kitchens that look like contemporary grown-up ones with white, black, or stained wood and real faucets. I even saw one with a faux granite countertop. I, however, wanted a more vintage look and intended to paint ours--I mean, theirs--red.
We just happened to have a whole bunch of matching white knobs on hand. I chose to use those letter stickers instead of painting the knobs just in case we ever want to use them once again as The Land of Nod intended.
While 99% of this project comes from the ideas of creative others, the sunshines-turned-burners was an idea of my own. Most suggestions I saw were for electric-style burners, and I prefer gas, even for pretend apparently. As I wandered the craft store aisles in search of something cheap that wouldn't require much magic to turn into a gas burner, I spotted those firey suns.
I'm not a huge fan of those big plastic play kitchens and tables and club houses and whatnot. The kids enjoy plenty of those on their child care center's playground, and I just don't like the look of them enough to bring any into our place. I'm not saying it will never happen. I'm just trying to avoid it. This nightstand play kitchen project helped me do just that while repurposing furniture, knobs, and hardware. Maybe that green effort will ease my conscience a bit about all those disposable diapers.
Nope, it didn't. Sorry, fellow earthlings.


