Thursday, July 24, 2014

DIY Jewelry Organizer--Easier than you think!


Creating an earring holder using burlap and a floating frame is ridiculously easy!


Create Earring Holder Using Frame and Burlap


When I decided long ago that I would make a picture frame earring holder like the gazillion I had seen on Pinterest, I shrugged to myself and thought, "I won't even blog about that one. Everyone has seen that project already."

Fast forward to a few days ago and now I'm thinking, "I must blog about this! The world needs to know!" 

Here's what you need to know. If you use a floating frame (you know, the kind with the two sheets of glass that you put your photo/document/postcards from your honeymoon in between), this project is ridiculously easy.
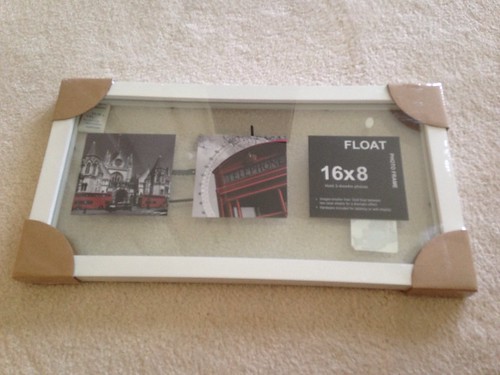
Create Earring Holder Using Frame and Burlap

I didn't have a tall and narrow frame that I envisioned for this project in my stash, so I hit Jo-Ann again and saw most frames were 40-50% off. I grabbed the one above because it was the size I wanted and intended to staple gun or glue gun or whatever gun some burlap or lace onto the back. The fact that this was a floating frame was just a little serendipity, I guess.

To my delight, I found that this project with this kind of frame requires no craft weaponry at all--no glue guns, no staple guns, nuthin'.  Watch this.
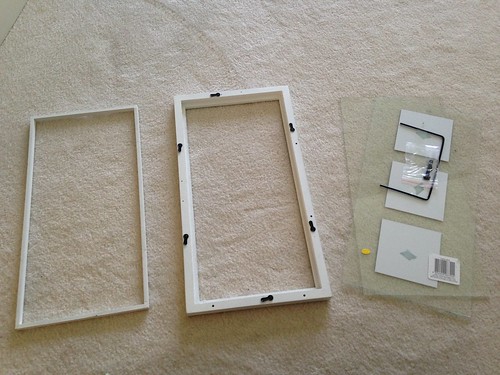
Create Earring Holder Using Frame and Burlap

Disassemble your frame into it's basic parts.  Set aside the glass and hardware, as all you need now are the frame and the smaller inner frame.
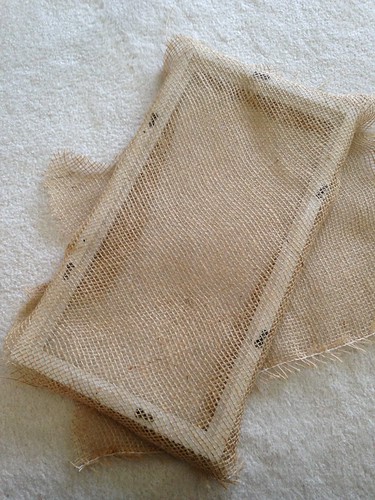
 Create Earring Holder Using Frame and Burlap

With the frame face down, lay the fabric of your choice over top. I used burlap from a hardware store, the really loose-weave kind, not the tighter stuff you find at fabric stores.  I thought this would work well for hanging earrings.  I arranged it on an angle to make a diamond pattern with the weave just for fun.

Fold the fabric under the edges of the frame a bit to provide a little tension and resistance for the next step.
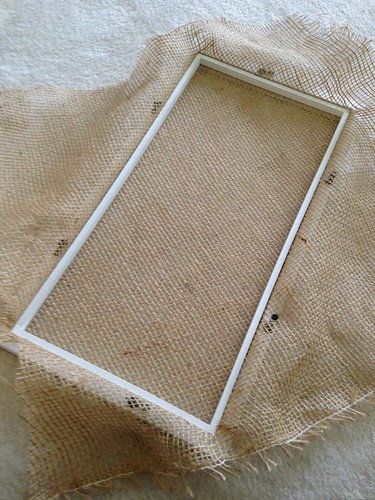
 Create Earring Holder Using Frame and Burlap

Push the inner frame on top of the fabric.
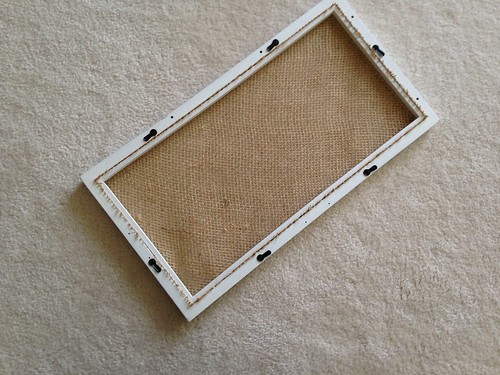
 Create Earring Holder Using Frame and Burlap

Trim the edges, and guess what. You're done! That's it. Hang your frame, hook your earrings, and there you have it.
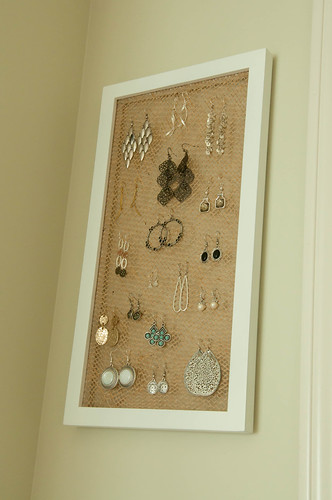
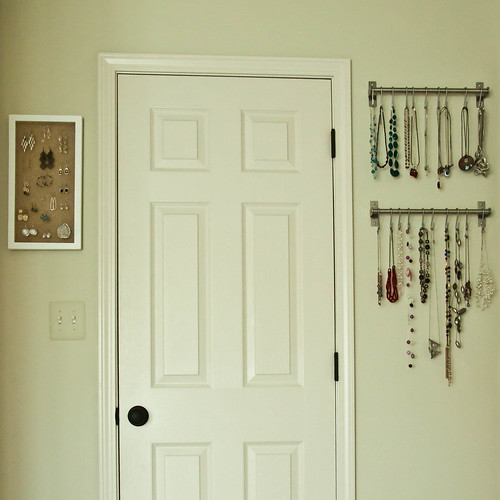
 Create Earring Holder Using Frame and Burlap


Create Earring Holder Using Frame and Burlap

This earring holder made from burlap and a floating frame is the perfect complement to my Ikea rod and hook necklace hangers!
Monday, July 14, 2014

No Sew DIY Blackout Curtains


Creating no-sew blackout curtains for a child's room is quite easy!

 No Sew DIY Blackout Curtains


When we moved into this house back in October, I was not ready to invest much in window treatments for the kids' rooms since I wasn't certain how the spaces were going to look once they were fully decorated.  Instead we bought inexpensive roller shades that leave the windows looking like this for naps and early evening bedtimes:

No Sew DIY Blackout Curtains

My kids don't sleep well in the summer. If you read Shared and Doubled, you know that as soon as that daylight saving "spring forward" comes along, no matter how active they are during the day nor how we adjust bedtimes, sleeping gets tricky around here in the spring and summer.

The rooms are still not fully decorated, but we're ready to take the plunge and put up curtains that may be more effective at blocking that summer sun and hopefully getting us all a little more sleep.

In Michael's room we will put up a new curtain rod on his bay window (inspired by this DIY project from Here Comes the Sun), and I have store-bought blackout curtains and a length of conduit for his room ready to go once we're ready to tackle that project.  Soon!

UPDATE: Michael's curtain rod and vintage transportation bedroom are done!

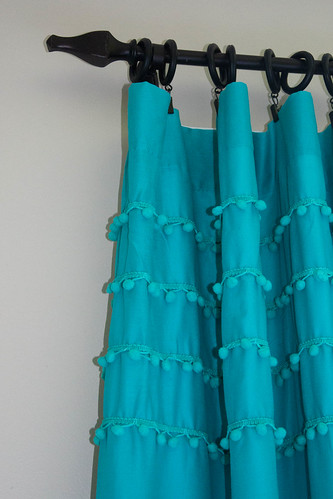
Sophie's window is just the regular old flat kind, but I wanted to use Target curtain panels that I had my eye on for a while--teal with super cute little pom poms along the top.  The panels are quite sheer, however, so I consulted this method from I Am Momma Hear Me Roar to transform the panels into blackout curtains. 

If you wish to do what I did, here's how it goes:
 
1) Get two curtain panels (or fabric that you like), both long enough and wide enough to cover the whole window. 

2) Buy blackout fabric that is wide enough to cover the window and twice as long.  When you cut it in half, you should have two panels like your curtains.  I bought the blackout fabric at JoAnn's, originally $5.99 a yard, on sale for 40% off last week, and I used a coupon for 15% off all items.  They had less expensive blackout fabric ($3-4 a yard) that I didn't like quite as much--seemed more rubbery.  Clearly this is an inexpensive upgrade to any curtains.

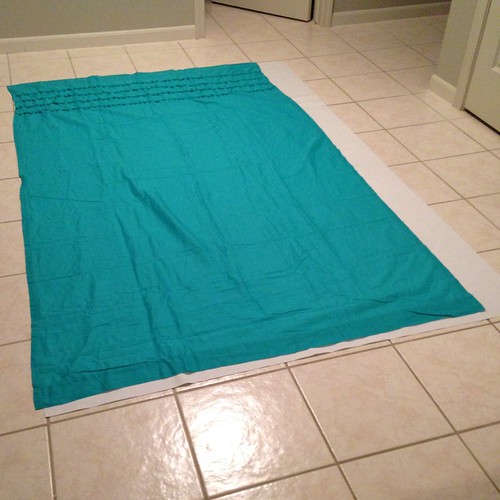
3) Inevitably the blackout fabric will not be the exact dimensions of your curtain panels straight from the store, so cut the blackout fabric to fit behind the curtain panels.  I recommend cutting so the blackout fabric is about an inch smaller in both directions so it is less likely to stick out at the edges.  I found the grout lines in my kitchen floor to be extremely helpful to guide my trimming!

No Sew DIY Blackout Curtains

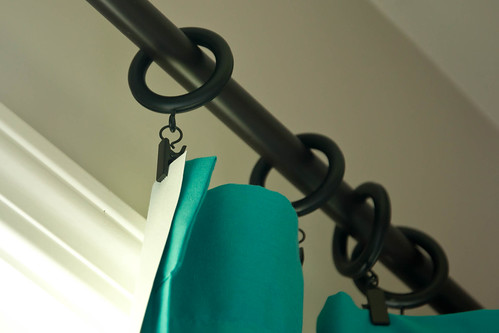
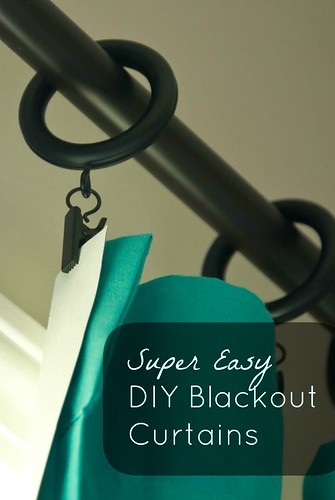
4) Using clip-on curtain rings, clip the curtain panel fabric on top of the blackout fabric.  These ended up about five inches apart.

5) Hang a rod at the appropriate height if one is not up already, and slide the the rings onto the  rod for hanging.  We had a rod and curtain rings in our basement just waiting to be reused, but I'm rethinking the color.  Some spray paint may be put to work in the future.

No Sew DIY Blackout Curtains

I appreciate the weight the blackout fabric gives to these otherwise breezy, translucent curtains.

v

And don't you love those rick-racky pom poms?

No Sew DIY Blackout Curtains

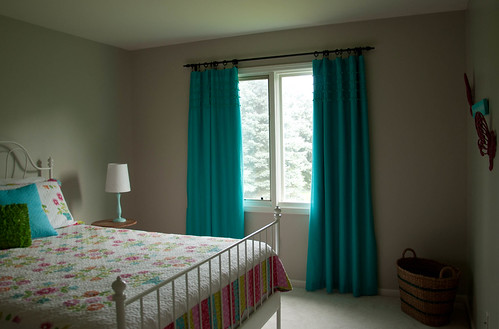
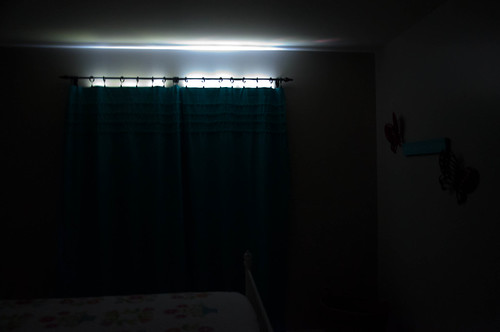
Here's how they look closed in the middle of the day:

No Sew DIY Blackout Curtains

It's tough to get a photo of how dark a room is.  Aside from that strip of light at the top (which doesn't seem so luminous), all of it is blocked by these curtains.  It takes a little overlapping of the panels in the middle and some adjusting at the sides sometimes, but that's no biggie.  Sophie even asked for the curtains to be cracked open a little at first so it wouldn't be quite so dark!

These DIY no sew blackout curtains are just what we needed.

Monday, July 7, 2014

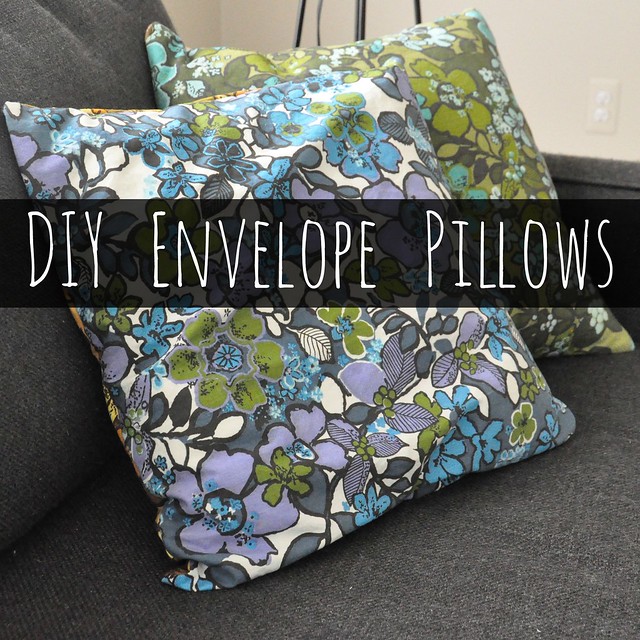
DIY Vintage Fabric Envelope Pillow Covers


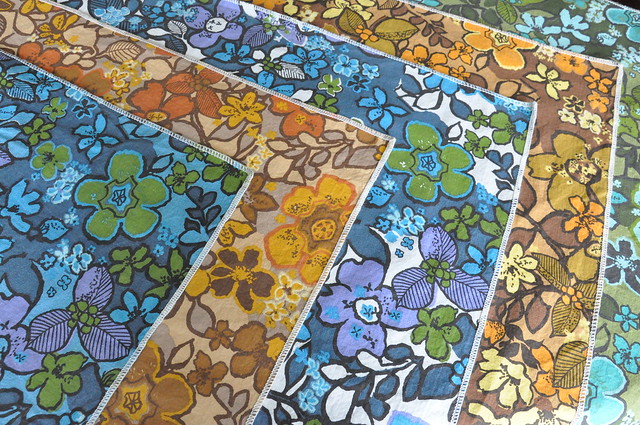
 If you have vintage fabric (or any fabric) waiting around to become a pillow, consider making envelope pillow covers.  They're easy to make and help you save pillow storage space.

DIY Vintage Fabric Envelope Pillow Covers


I don't really consider myself a sewing person, but I sew stuff sometimes.  I have enjoyed making items such as nap mats and blankets for Michael and Sophie over the last few years and have hacked my way through a few bigger home sewing projects in the past, but what I sew the most are very simple pillow covers.  This project requires no zippers, no buttons, and no hand stitching, so if you are essentially a sewing novice like myself and can at least operate a sewing machine, you can surely handle this. 

DIY Vintage Fabric Envelope Pillow Covers 
 

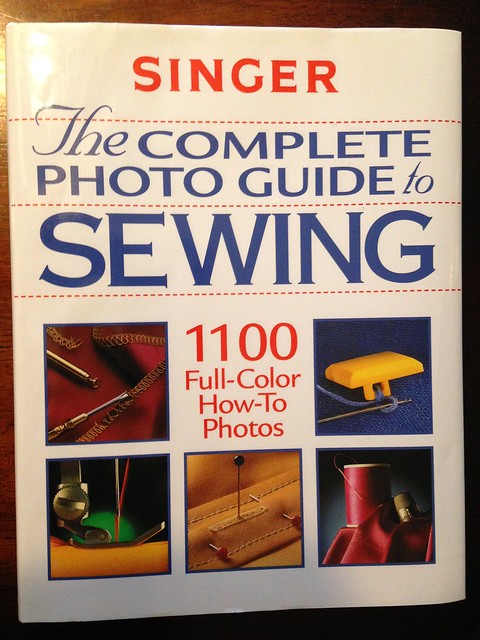
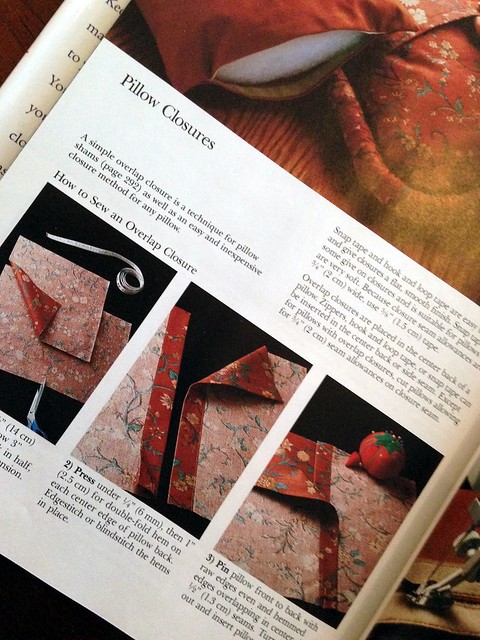
When I first started making this kind of pillow a number of years back, I followed the instructions in the Singer book The Complete Photo Guide to Sewing.  The book was published in 1999, and the projects reflect that time: Roman shades, duvet covers, and so on.  However, the fabrics in the photos scream 1980's.

DIY Vintage Fabric Envelope Pillow Covers

That has always struck me as odd.  Still, the instructions are good.  These days you can rely on Google and Pinterest to link you up with tutorials like this one, but if you're looking for a real life reference, that book is handy.

DIY Envelope Pillow Covers:

1) Cut the fabric for the front of the pillow so it is one inch bigger than your pillow form in both directions.  I used some vintage fabric samples that I bought through eBay a while back.

DIY Vintage Fabric Envelope Pillow Covers 

New fabric would work for this project, of course, but making pillow covers is a great way to repurpose old clothing and linens.  Some of my favorite throw pillows are ones I made using silk scarves from a thrift store.
 
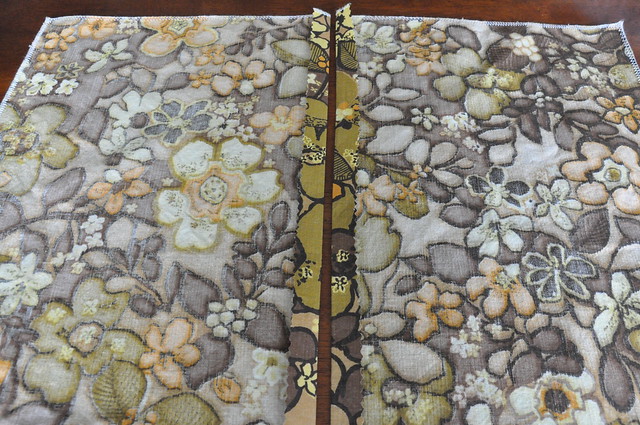
2)  Cut the back piece of fabric so it is one inch bigger in one direction but six inches bigger in the other.  Cut that piece in half and iron and hem the middle edges.

DIY Vintage Fabric Envelope Pillow Covers

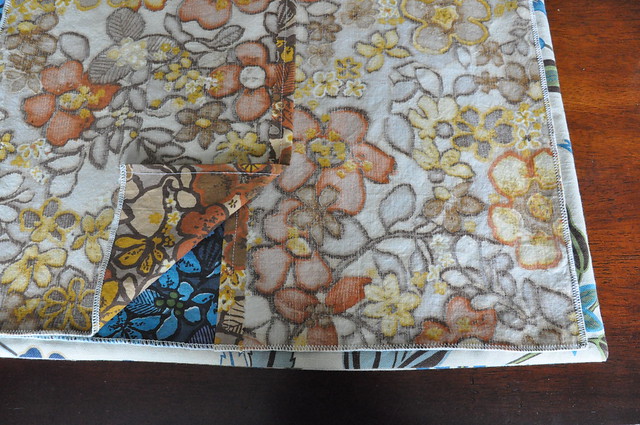
3) With the front fabric face up, lay your two back pieces on top face down by aligning the outer edges and overlapping the middle ones.  This will create your envelope.

DIY Vintage Fabric Envelope Pillow Covers
You can see one of the pillow's previous covers peeking out from beneath my vintage fabrics. I used the old cover as a template and made the new ones a bit smaller so they would be more snug.

4) Pin the outer edges so it looks like an inside-out pillow cover, and sew all four sides.

When I made these covers, I made three in one sitting by making a sort of assembly line.  I cut and hemmed all the back pieces, pinned all the backs to the fronts, and sewed all three covers closed one right after the other.

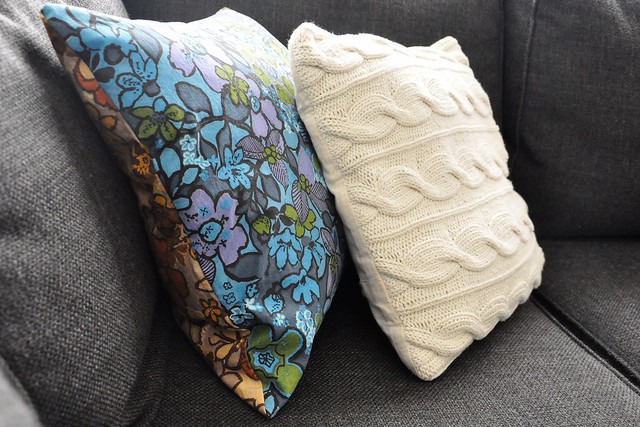
5) Finally,  turn your cover right side out, and slide in your pillow form to complete your new pillow. 

  DIY Vintage Fabric Envelope Pillow Covers 

I prefer this envelope pillow cover method to making whole throw pillows because you can move your pillow forms from one cover to another as you wish depending on the season or your mood.  I keep a stash of pillow covers and a few extra pillow forms (some are just old throw pillows themselves) in a bin together in my basement near my other home decorating items.  That one bin certainly takes up less space and costs far less than so many throw pillows.

You've gotta love an inexpensive, green, and space saving project that can dramatically change the look of a room in an afternoon, and DIY envelope pillow covers are just that!

Tuesday, July 1, 2014

Industrial Gear Gallery Wall

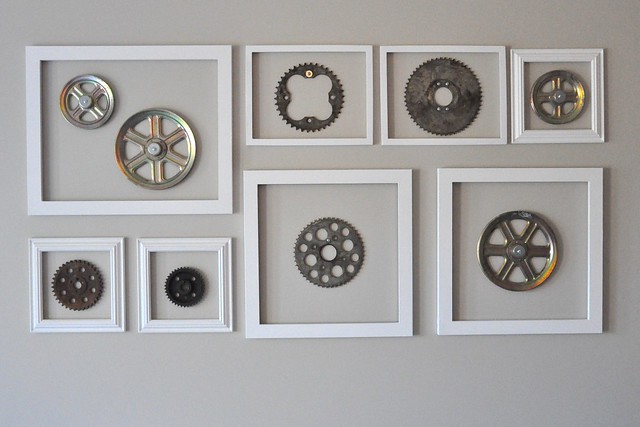
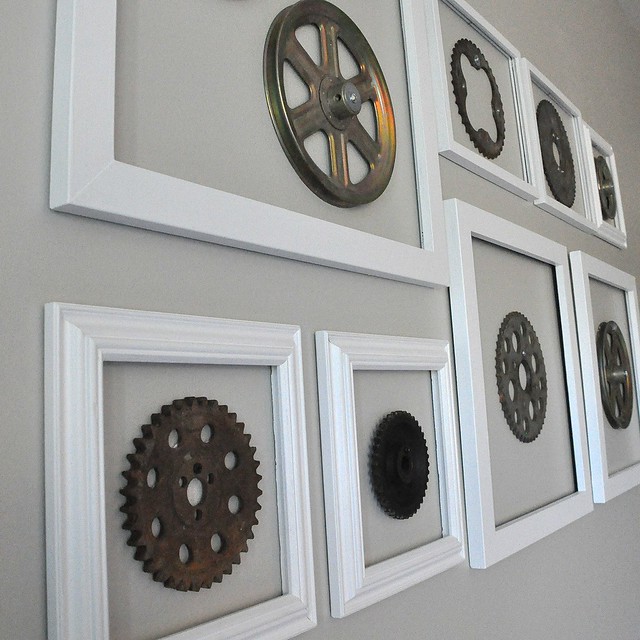
A gallery wall of painted picture frames and industrial gears is a simple project and was just what we needed on the big, empty wall in Michael's room.

Industrial Gear Gallery Wall


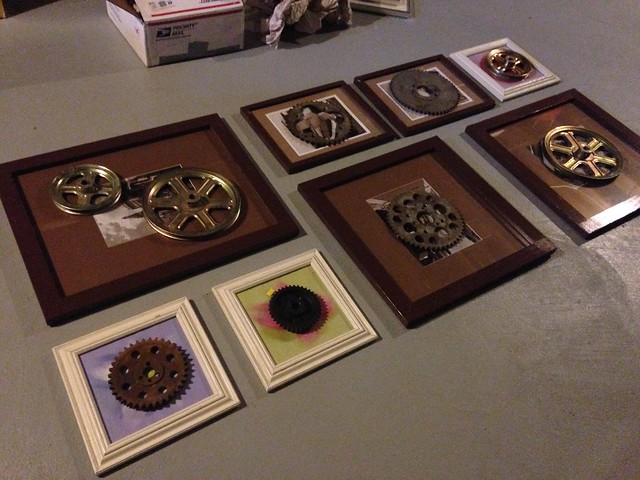
While painting the old frames for the gear art in Michael's room, I questioned my life choices.  Why am I spending this Sunday painting in my garage while my parents play with my kids at a park?  Why have Mike and I devoted so much of our time and energy to DIY nonsense?  Why have I started a stinkin' blog to document this garbage?  Why not just hit up Home Goods, slap that stuff up on the walls, and just live our dang lives?  I am not a decorator.  Hardly anyone looks at this stuff.  Why do I DO THESE THINGS?

It was a tad humid in the garage.  It made me cranky for a bit there.

Then, within 24 hours, there was this:
 Industrial Gear Gallery Wall 


Chances are one might still support my painting ponderings and not be aesthetically affected by a balanced gallery wall of repurposed industrial gears for a trains-, planes-, and automobile-loving a little boy's bedroom.  It's possible the fact that the frames previously held that little boys' parents' honeymoon photos in their old home holds no emotional weight for others.  But for me this screams, "This is why!"

To take you back a bit, I bought the gears through eBay back in the fall.  A search for "industrial gears" will turn up a bunch.  I bought two lots, one of the four pulleys and the other of the gears, spending a total of $35.  (I explained more about the frames in the last post.)

Industrial Gear Gallery Wall 

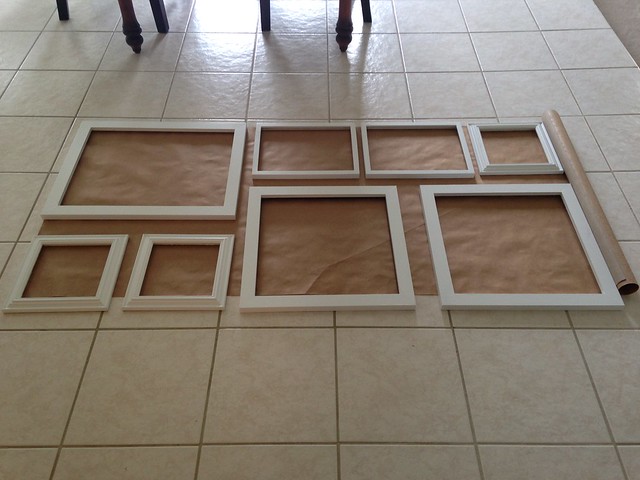
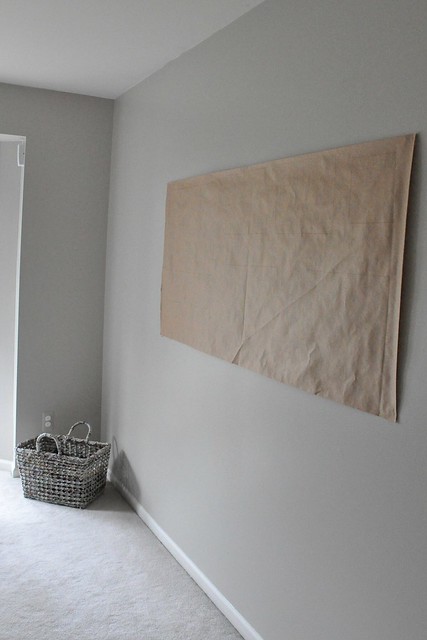
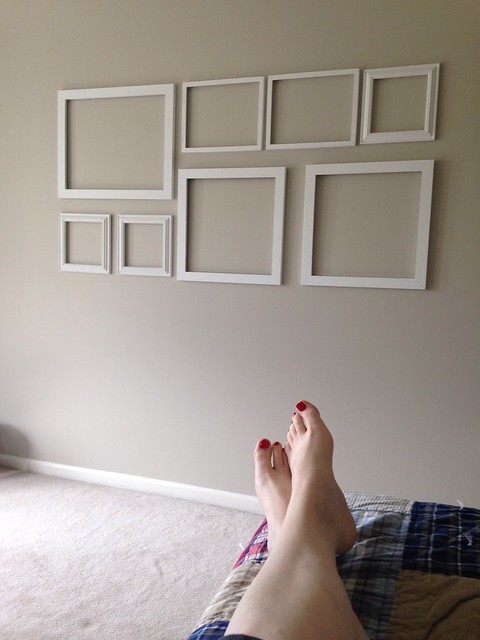
I've never arranged a gallery wall before and decided to try the method I have seen in various places which involves laying the items out on paper, outlining them, and marking where the nails will go.
 
Industrial Gear Gallery Wall 

Industrial Gear Gallery Wall 

This method was extremely helpful.  I just stuck the paper on the wall with sticky-tack and was able to adjust it as needed to get it centered and level before pounding in the nails.  I was quite pleased with myself to get his far without any help from my handy husband.

Industrial Gear Gallery Wall

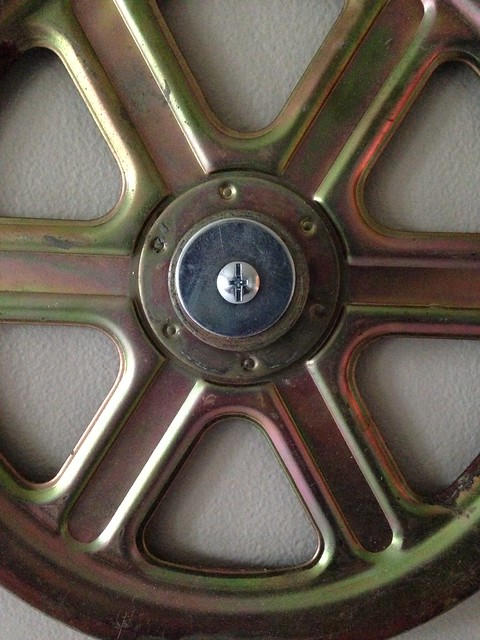
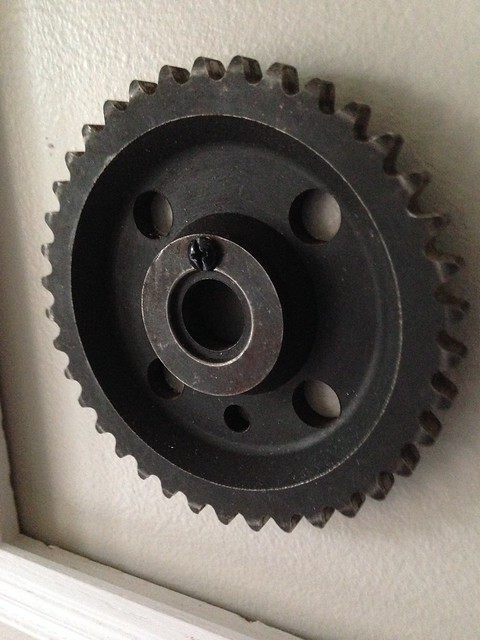
But at this point his assistance was needed.  Along with actually hanging the gears and pulleys on the wall, Mike determined how we would attach them safely.  It's a bit embarrassing to admit, but I hadn't inspected the gears enough to discover they all have holes specifically for screws, and the pulleys have large holes in the center.  I was making things far more complicated than necessary by overlooking the obvious solution: a combination of screws, washers, and anchors through the holes of the gears. 
 
Industrial Gear Gallery Wall


 Industrial Gear Gallery Wall


If you're thinking we are pushing Sophie into overly traditional girlishness with the flowers and butterflies in her room while encouraging Michael toward engineering pursuits with the transportation motif in his, you should know that Mike's biggest helper at this point was Sophie.  She wanted to know what every tool was called, how the anchors worked, and assisted Mike as much as a four-year-old can. Picture that four-year-old fresh out of the bath with wet hair and a Cinderella nightgown on to get the full, adorable impression.

Industrial Gear Gallery Wall
 
Michael was very excited to see the industrial gears and pulleys decorating his gallery wall.  However, he was disappointed that none of them turn, which did not surprise us about our boy in the least.