If you have vintage fabric (or any fabric) waiting around to become a pillow, consider making envelope pillow covers. They're easy to make and help you save pillow storage space.
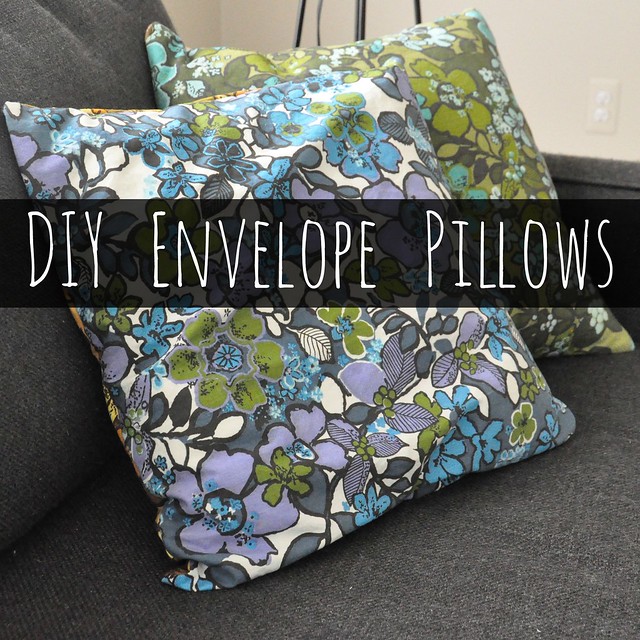

I don't really consider myself a sewing person, but I sew stuff sometimes. I have enjoyed making items such as nap mats and blankets for Michael and Sophie over the last few years and have hacked my way through a few bigger home sewing projects in the past, but what I sew the most are very simple pillow covers. This project requires no zippers, no buttons, and no hand stitching, so if you are essentially a sewing novice like myself and can at least operate a sewing machine, you can surely handle this.
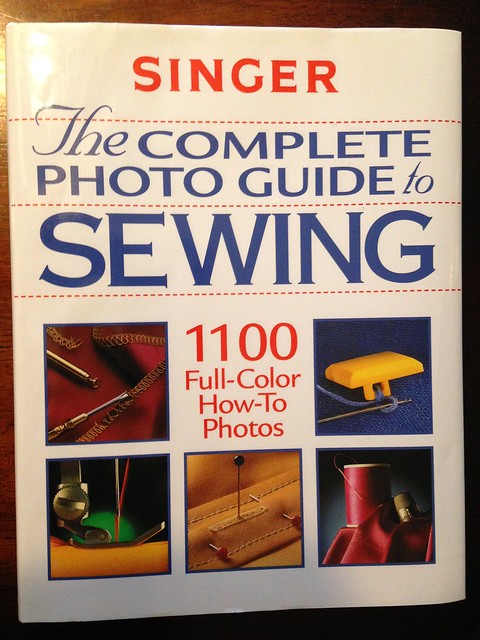
When I first started making this kind of pillow a number of years back, I followed the instructions in the Singer book The Complete Photo Guide to Sewing. The book was published in 1999, and the projects reflect that time: Roman shades, duvet covers, and so on. However, the fabrics in the photos scream 1980's.
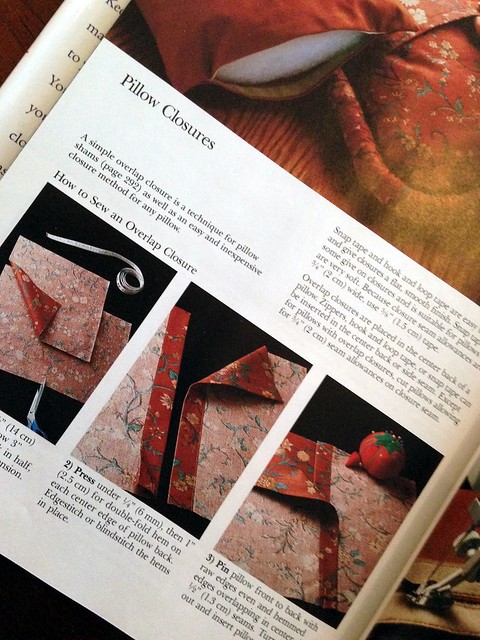
That has always struck me as odd. Still, the instructions are good. These days you can rely on Google and Pinterest to link you up with tutorials like this one, but if you're looking for a real life reference, that book is handy.
DIY Envelope Pillow Covers:
1) Cut the fabric for the front of the pillow so it is one inch bigger than your pillow form in both directions. I used some vintage fabric samples that I bought through eBay a while back.
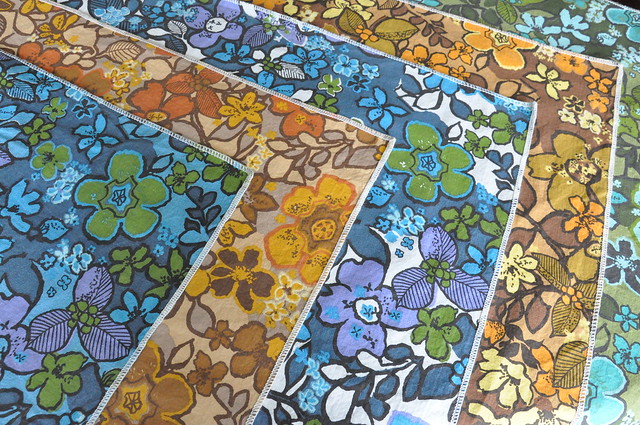
New fabric would work for this project, of course, but making pillow covers is a great way to repurpose old clothing and linens. Some of my favorite throw pillows are ones I made using silk scarves from a thrift store.
2) Cut the back piece of fabric so it is one inch bigger in one direction but six inches bigger in the other. Cut that piece in half and iron and hem the middle edges.
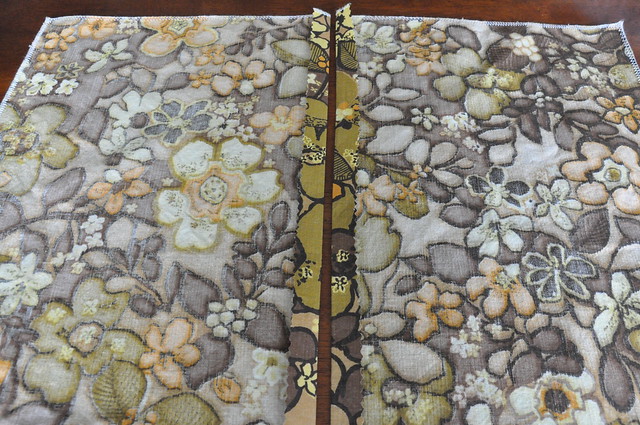
3) With the front fabric face up, lay your two back pieces on top face down by aligning the outer edges and overlapping the middle ones. This will create your envelope.
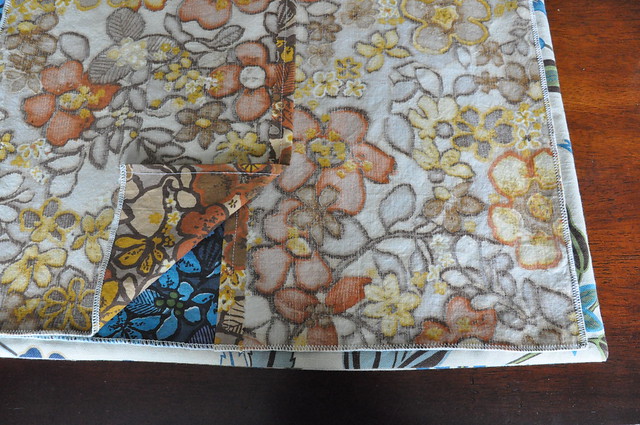 |
| You can see one of the pillow's previous covers peeking out from beneath my vintage fabrics. I used the old cover as a template and made the new ones a bit smaller so they would be more snug. |
4) Pin the outer edges so it looks like an inside-out pillow cover, and sew all four sides.
When I made these covers, I made three in one sitting by making a sort of assembly line. I cut and hemmed all the back pieces, pinned all the backs to the fronts, and sewed all three covers closed one right after the other.
5) Finally, turn your cover right side out, and slide in your pillow form to complete your new pillow.
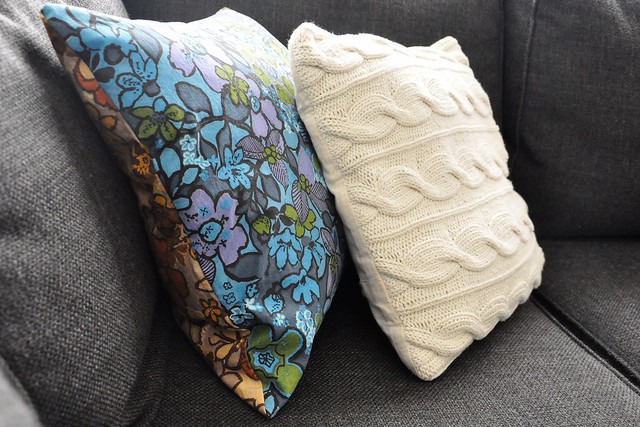
I prefer this envelope pillow cover method to
making whole throw pillows because you can move your pillow forms from one
cover to another as you wish depending on the season or your mood. I keep a stash of pillow covers and a few extra pillow
forms (some are just old throw pillows themselves) in a bin together in my basement near my other home decorating items. That one bin certainly takes up less space and costs far less than so many throw pillows.
You've gotta love an inexpensive, green, and space saving project that can dramatically change the look of a room in an afternoon, and DIY envelope pillow covers are just that!
No comments:
Post a Comment