Creating no-sew blackout curtains for a child's room is quite easy!

When we moved into this house back in October, I was not ready to invest much in window treatments for the kids' rooms since I wasn't certain how the spaces were going to look once they were fully decorated. Instead we bought inexpensive roller shades that leave the windows looking like this for naps and early evening bedtimes:

My kids don't sleep well in the summer. If you read Shared and Doubled, you know that as soon as that daylight saving "spring forward" comes along, no matter how active they are during the day nor how we adjust bedtimes, sleeping gets tricky around here in the spring and summer.
The rooms are still not fully decorated, but we're ready to take the plunge and put up curtains that may be more effective at blocking that summer sun and hopefully getting us all a little more sleep.
In Michael's room we will put up a new curtain rod on his bay window (inspired by this DIY project from Here Comes the Sun), and I have store-bought blackout curtains and a length of conduit for his room ready to go once we're ready to tackle that project. Soon!
UPDATE: Michael's curtain rod and vintage transportation bedroom are done!
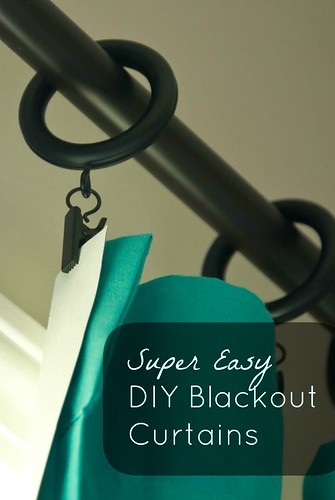
Sophie's window is just the regular old flat kind, but I wanted to use Target curtain panels that I had my eye on for a while--teal with super cute little pom poms along the top. The panels are quite sheer, however, so I consulted this method from I Am Momma Hear Me Roar to transform the panels into blackout curtains.
If you wish to do what I did, here's how it goes:
1) Get two curtain panels (or fabric that you like), both long enough and wide enough to cover the whole window.
2) Buy blackout fabric that is wide enough to cover the window and twice as long. When you cut it in half, you should have two panels like your curtains. I bought the blackout fabric at JoAnn's, originally $5.99 a yard, on sale for 40% off last week, and I used a coupon for 15% off all items. They had less expensive blackout fabric ($3-4 a yard) that I didn't like quite as much--seemed more rubbery. Clearly this is an inexpensive upgrade to any curtains.
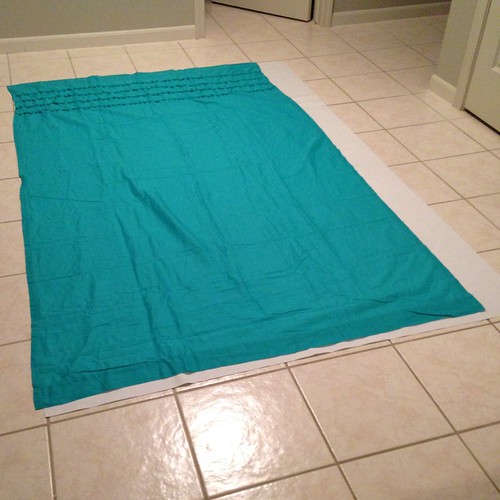
3) Inevitably the blackout fabric will not be the exact dimensions of your curtain panels straight from the store, so cut the blackout fabric to fit behind the curtain panels. I recommend cutting so the blackout fabric is about an inch smaller in both directions so it is less likely to stick out at the edges. I found the grout lines in my kitchen floor to be extremely helpful to guide my trimming!
4) Using clip-on curtain rings, clip the curtain panel fabric on top of the blackout fabric. These ended up about five inches apart.
5) Hang a rod at the appropriate height if one is not up already, and slide the the rings onto the rod for hanging. We had a rod and curtain rings in our basement just waiting to be reused, but I'm rethinking the color. Some spray paint may be put to work in the future.
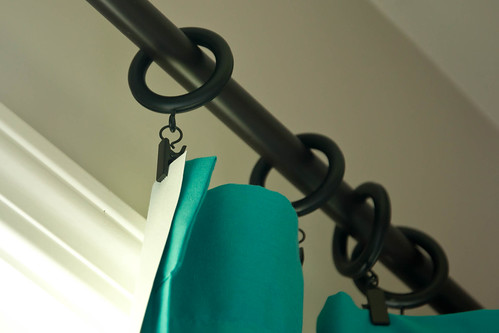
I appreciate the weight the blackout fabric gives to these otherwise breezy, translucent curtains.
And don't you love those rick-racky pom poms?

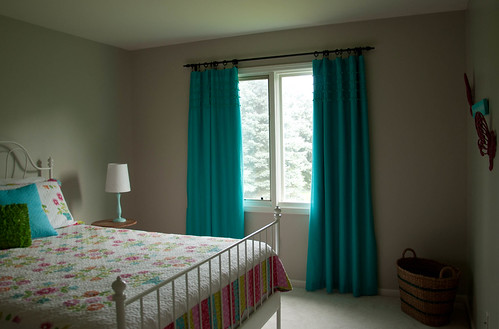
Here's how they look closed in the middle of the day:
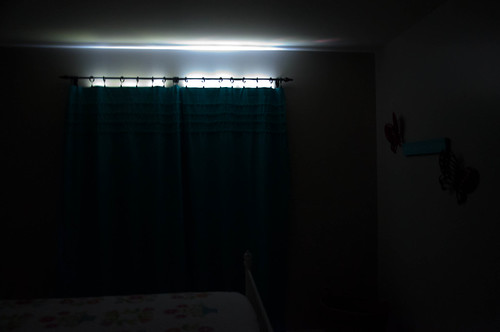
It's tough to get a photo of how dark a room is. Aside from that strip of light at the top (which doesn't seem so luminous), all of it is blocked by these curtains. It takes a little overlapping of the panels in the middle and some adjusting at the sides sometimes, but that's no biggie. Sophie even asked for the curtains to be cracked open a little at first so it wouldn't be quite so dark!
These DIY no sew blackout curtains are just what we needed.
Looks great!! I love sleeping in a pitch black room!!
ReplyDeleteMe too! It makes me want to take a nap every time I close these.
ReplyDeleteWhat kind of fabric did you use? I tried a search for black out fabric on Joann's website, and got nothing. :/
ReplyDeleteI just bought some yesterday at Joann's - it's called Roclon and with the drapery fabrics. It was on sale for $4.99/yd and I had a coupon for an additional 25% off. If you search for that name on their site, it will come up. I'm using it for my bedroom/sewing room to cut the heat from the afternoon sun.
DeleteThanks, for the details Mrs. K!
DeleteHmm, I just searched "blackout" on the site and a few came up. I found it in the store near other drapery lining. I hope that helps!
ReplyDeleteI'm inspired!! But even more impressed!!
ReplyDeleteI loved the idea of the kitchen grout in the floor ! what a great idea . I can never cut straight .
ReplyDeleteThank you so much! We just PCSed to Alaska and the sun isn't setting until 2-2:30 a.m. and rises at 4 a.m.
ReplyDeleteIn a word, Amazing!!!I am preparing this weekend for making as it is!!! In the morning, one big ray of sunshine come to my daughter's room.Please don't mind. Thank you so much.
ReplyDelete